My first 2 weeks as a stripper (of paint)
I always thought that being a stripper would mean loosing clothes, not adding them, but unfortunately when stripping paint on an older home, it seems that suiting up with extra clothes, masks, gloves, etc is all part of the necessary precautions to make sure I’m not inhaling toxic fumes and spreading lead based paint particles. Of course, it seems that once I get everything on, earbuds in ready to listen to a podcast, and get the heat stripping tools all heated up and ready to go, I get a phone call and have to scramble down off the ladder precariously to potentially take the call. Not ideal, and I’ve missed more calls than I’ve taken, but it all seems to work out.
Getting some good use out of the Speedheater 1100 and scraper
I’ve got to talk a little bit about the tools that I’ve been using, as I don’t think I would have even thought of tackling this project if I hadn’t already invested in an infrared heat tool made specifically for stripping paint. I purchased this specific tool (https://eco-strip.com/product/speedheater-ir-system-standard-kit/) after doing some extensive research online about safely removing lead based paint. I haven’t actually tested for LBP, but lets be real….based on the flaking on my house, and the age, I’d be pretty surprised if there wasn’t some level of lead based paint in on of the 5 layers. I was able to find one of these speedheaters being sold on facebook marketplace last summer and picked it up at a bargain, and so far, it works relatively well. The only main issue is that you have to hold it in place for 30-45 seconds for it to heat through the layers enough to scrape it off, and after doing that for about an hour, the shoulders start to feel the pain.
Notice the scorch marks by the window….It would have been better to start there and work outwards
After a few hours worth of holding the speedheater 1100 for 45-60 seconds in place, putting it down somewhere I wouldn’t accidentally start something on fire, scraping multiple surface edges, and then repeating, I realized that this was not going to be the most efficient process. Luckily, I had already ordered one more tool that would be helpful in the process, and had purchased some parts from the local JAX farm and ranch to install it. Simplistic as it might seem, a box rail with a pulley system and 1/2” threaded rod in various lengths have been a life saver, especially when working on the ladder. This infrared rack was advertised on the speedheater site, and while it is something I probably could have made myself from parts at the hardware store, paying for someone else’s invention just made sense in the sake of time. What a huge help to not have to hold that beast in place while it heats up, which allowed me to scrape while the next section was heating.
As I worked through the first week of heating and scraping, I noticed that the speedheater 1100 (the yellow one above) just didn’t excel at getting into the tight corners around the windows, electrical panel, and corners, and I bit the bullet and ordered the smaller version from Speedheater called the cobra. (https://eco-strip.com/product/speedheater-cobra/) Honestly, I really wish I would have purchased the cobra sooner (like last year when I was refinishing my porch posts), but I couldn’t find one used online. Anyhow, this thing rocks! While it doesn’t cover a huge area, it is so much lighter and you only need to hold it up to the paint for 5-10 seconds before you scrape, so it has come in super handy on those tight spots.
Those coils heat the paint super fast
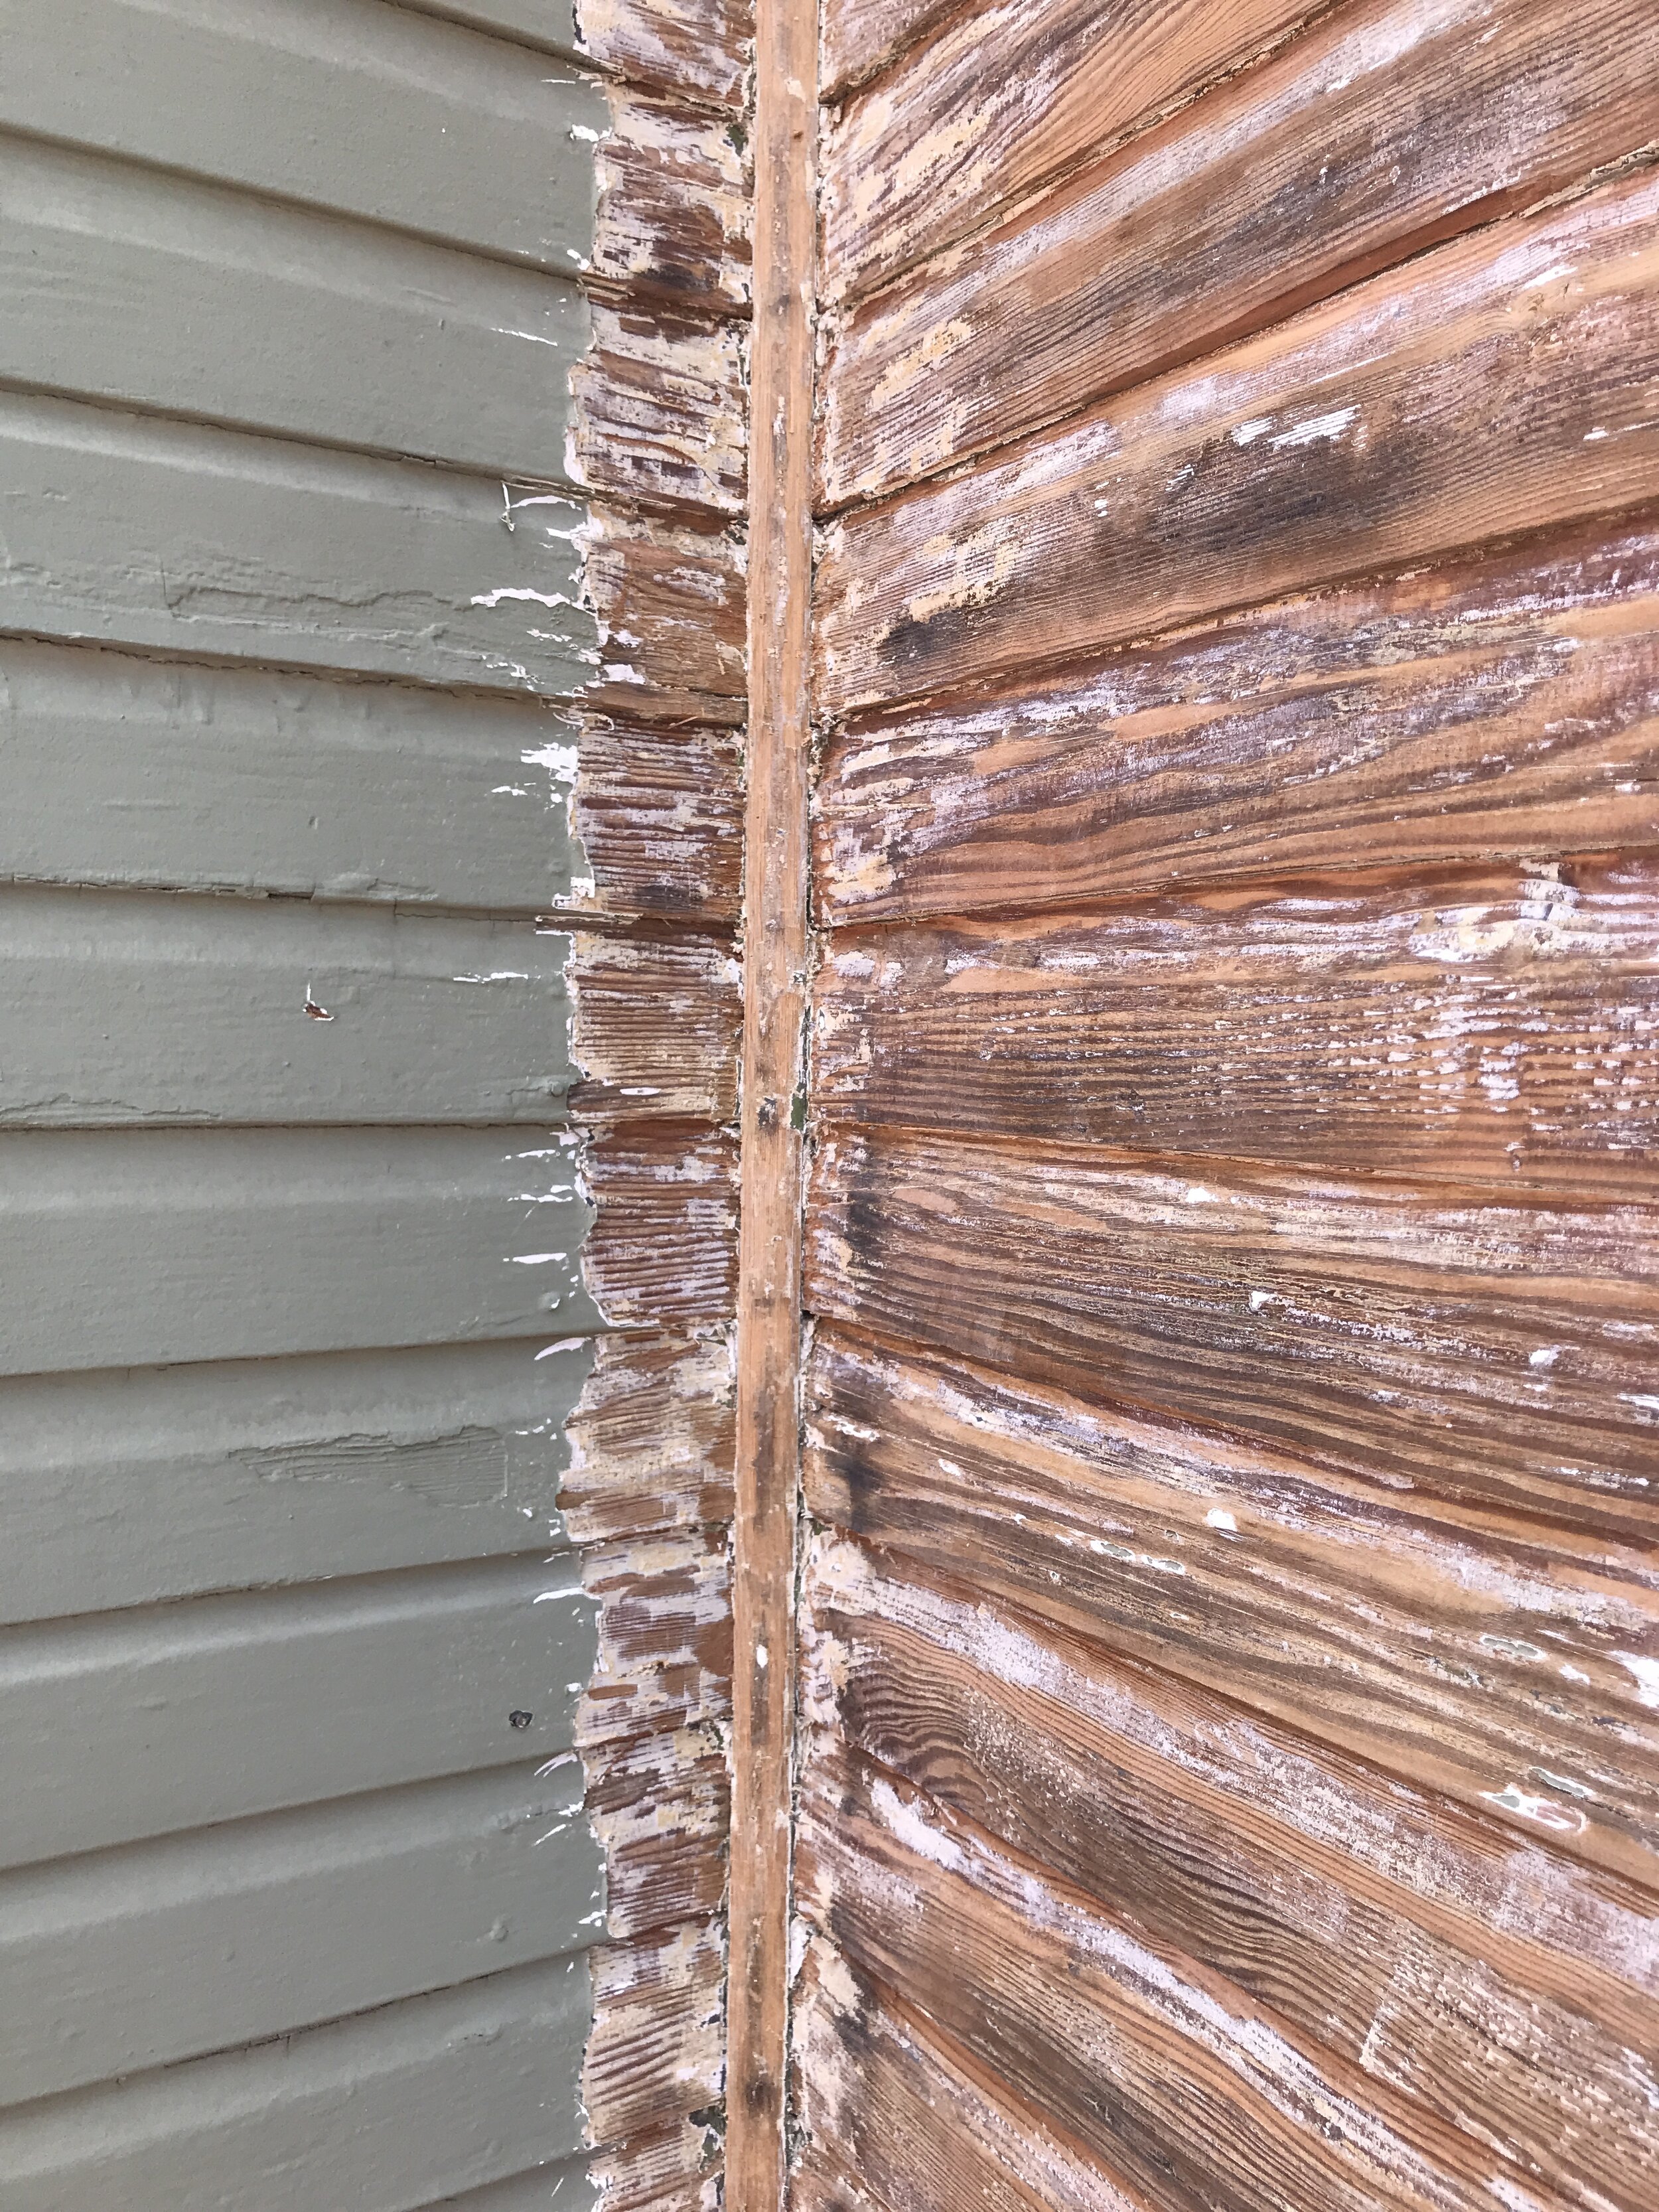
While it has been slow going overall, I’ve found that working for a few hours in the morning while it is still cool, and stopping while I am still ahead has been pretty productive over the past 2 weeks. I’ve learned that it is best to start by heating all of the small angles with paint still in place, otherwise you run the risk of scorching the wood underneath. As an added bonus, I’ve only lit my house on fire about 7 times so far….don’t worry, a quick pat with a glove puts it right out…but I definitely made a muted and masked “AHHH!!!” sound the first time it happened. Anyhow, here are a few photos of the progress. Not bad for a few hours each morning over the past 2 weeks!
The very first section tackled and the realization that this will be a HUGE undertaking
Finally started “making hay” when I got the track system up and running.
Cleaning up trim work around windows, corners and electrical meters is the slow work.
Getting into this tight corner and scraping that 1/4 round was a pain!
Finally got a good rhythm going on this section
A little tricky to see, but the once the paint bubbles and smokes its time to scrape
2 weeks of working a few hours each morning. The top section will be a bit slow going as it involves lots of time on the ladder. The looming long west side awaits its fate!


